저번 spring boot의 기본 로그인을 구현했다.
spring boot 로그인 (+spring security, mysql)
spring boot 로그인 (+spring security, mysql)
springSecurity 사용 pom.xml 에 아래와 같이 security 설정 추가 org.springframework.boot spring-boot-starter-security {프로젝트이름}Application.java 가 존재하는 폴더에 config folder 생성 + securityConfig.java 생성 demo.config.Se
hoonzi-text.tistory.com
이전 로그인 코드에 중복 로그인 방지를 추가해보자.
중복 로그인 방지 로직을 넣기 위해 기본 로그인 페이지가 아닌 나만의 로그인 페이지를 구현해야 한다.
이전 로그인 페이지 구성에 추가 및 수정이 있다.
코드는 깃허브에 업로드해놨다.
GitHub - hoonzinope/springboot_duplicateLogin: springboot 중복 로그인 방지 예제
springboot 중복 로그인 방지 예제. Contribute to hoonzinope/springboot_duplicateLogin development by creating an account on GitHub.
github.com
수정해야 할 부분은 securityConfig 파일로
. loginPage("/login") 추가
- 커스텀 login page를 호출하는 controller 호출 url
. loginProcessingUrl("/login_process") 추가
- 커스텀 login page의 form action url 추가
@Bean
public SecurityFilterChain filterChain(HttpSecurity http) throws Exception {
    http.csrf().disable()
        .cors().disable()
        .authorizeHttpRequests(request -> request

                .anyRequest().authenticated()
        )
        .formLogin(login -> login
                .loginPage("/login") // 로그인페이지를 호출할 /login 호출
                .loginProcessingUrl("/login_process") // form action url
                .defaultSuccessUrl("/", true)
                .permitAll()
        )
        .logout(withDefaults());

    return http.build();
}
새로 추가해야 할 controller 가 생긴다.
loginController 클래스는 아래와 같다.
package com.userexample.demo.controller;

import org.springframework.stereotype.Controller;
import org.springframework.web.bind.annotation.GetMapping;

@Controller
public class loginController {

    @GetMapping(value = "/login")
    public String loginPage() {
        return "login";
    }
}
get으로 호출되는 login.jsp는 아래와 같이 간단하게 만들었다.
<!DOCTYPE html>
<html lang="en">
<head>
<meta charset="UTF-8">
<meta http-equiv="X-UA-Compatible" content="IE=edge">
<meta name="viewport" content="width=device-width, initial-scale=1.0">
<title>Document</title>
</head>
<body>
login page
<form action="/login_process" method="POST">
<input type="text" id="username" name="username" placeholder="user id"/>
<br/>
<input type="password" id="password" name="password" placeholder="user password"/>
<br/>
<input type="submit">
</form>
</body>
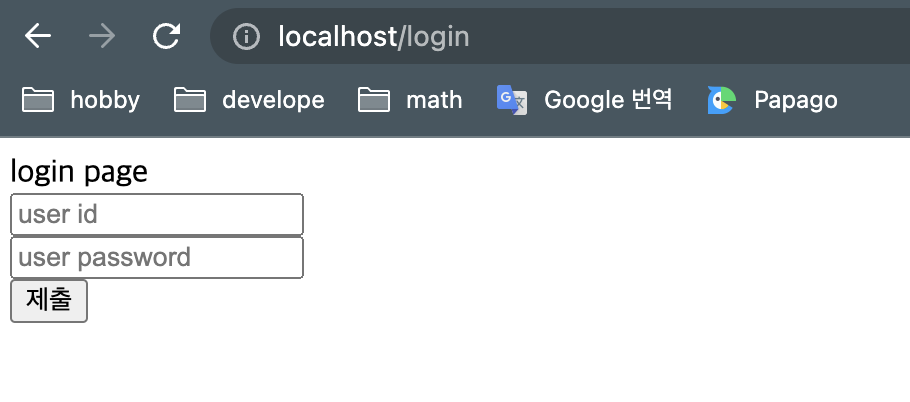
</html>아래와 같이 간단하게 로그인 부분이 보이게 된다.
중복로그인을 방지하는 방법은 아래와 같다.
- 로그인 사용자 세션을 1개로 고정
- 로그인하려고 submit 하기 전 요청을 가로채
- 세션에 이미 로그인한 사용자 정보가 존재할 경우,
- 새로운 로그인 사용자에게 기존 로그인 사용자의 로그인이 풀림을 경고
- 경고를 확인하고도 로그인할 경우, 1번 조건에 의해 기존 사용자는 로그아웃!
위 로직의 핵심은 로그인 사용자 세션을 1개로 고정하는 것이다.
다시금 securityConfig를 수정해 준다.
@Bean
public SecurityFilterChain filterChain(HttpSecurity http) throws Exception {
http.csrf().disable()
.cors().disable()
.authorizeHttpRequests(request -> request
.dispatcherTypeMatchers(DispatcherType.FORWARD).permitAll()
.anyRequest().authenticated()
)
.formLogin(login -> login
.loginPage("/login")
.loginProcessingUrl("/login_process")
.defaultSuccessUrl("/", true)
.permitAll()
)
.logout(withDefaults())
.sessionManagement() // session 관리 하게따
.maximumSessions(1) // maximunSessions : Session 허용 개수 (1개로_
.maxSessionsPreventsLogin(false);
//maxSessionPreventsLogin : true 일 경우 기존에 동일한 사용자가 로그인한 경우에는 login 이 안된다.
// false 일경우는 로그인이 되고 기존 접속된 사용자는 Session이 종료된다. false 가 기본이다.
return http.build();
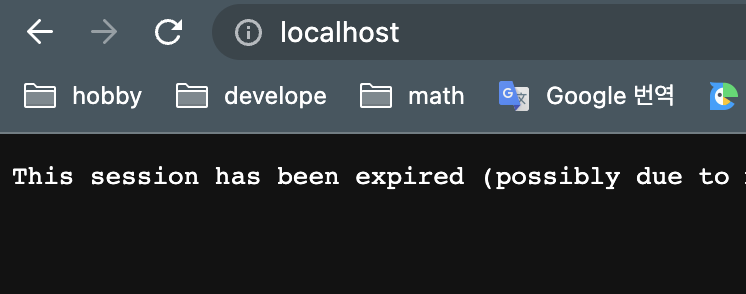
}1개로 고정 결과는 아래와 같다.
현재 크롬에서 로그인 → 사파리에서 로그인 → 크롬에서 결과
로그인 페이지에서 로그인 전 사용자를 검사하는 로직을 구성하자. (2,3번의 과정)
2번 과정은 jsp 페이지에
1) html을 수정해 주고
2) jquery로 동작을 추가해 준다.
우선 1) html을 수정해 주는데
login (type=submit) 버튼 대신에 다른 버튼을 하나 달아준다.
<form action="/login_process" method="POST" id="login-form">
    <input type="text" id="username" name="username" placeholder="user id"/>
    <br/>
    <input type="password" id="password" name="password" placeholder="user password"/>
    <br/>
    <button type="button" id="login" >login</button> <-- 이부분
</form>
저 부분의 동작을 새로 달아줄 텐데
- 사용자 id를 서버로 보내 세션에 존재하는지 검사
- 검사 여부를 받아서
- 있다면 → 기존 로그인이 풀리는데 진행할 건지 한번 더 물어보기
- 없다면 → 기존 로그인 방식대로!
<body> 밑에 <script> 태그를 열고 jquery를 사용해 준다.
<script type="text/javascript">
    $(document).ready(function() { // html 문서가 다 로딩 되면
        $("#login").click(function() { // 로그인 버튼이 눌렸을때
            let username = $("#username").val(); // 사용자 id를 가져와서

            $.ajax({ // 서버로 보내서 기존 세션이 존재하는지 (중복인지) 검사해준다.
                url : "/checkUser",
                method : "GET",
                dataType : "json",
                data : {
                    username : username,
                },
                success : function(result){
                    if(result == false) {
                        $('#login-form').submit();
                    }else{
                        let check = confirm(
                            "Existing login users will be logged out. Do you want to continue?"
                        );
                        if(check) {
                            $('#login-form').submit();
                        }
                    }
                }
            })
        })
    })
</script>
위 동작으로 로그인 페이지에서 우리 서버 “/checkUser” 로 id를 넘겨준다.
이제 /checkUser로 넘어온 id를 검증해야 한다.
/checkUser에 맞는 controller 함수를 만들어주기 전 springSecurityConfig의 경우, 인증되지 않은 url 접근은 전부 막고 있으므로 /checkUser에 대한 접근은 허용해 준다.
http.csrf().disable()
.cors().disable()
.authorizeHttpRequests(request -> request
        .dispatcherTypeMatchers(DispatcherType.FORWARD).permitAll()
        .antMatchers("/checkUser").permitAll() // <- 추가추가
        .anyRequest().authenticated()
)
로그인한 사용자를 기억해야 하므로 session을 저장해 두는 sessionRegistry를 하나 선언해 준다.
선언된 sessionRegistry는 filterChain에 연결에 사용한다고 명시해 준다.
.sessionManagement()
.sessionFixation().changeSessionId()
.maximumSessions(1)
.maxSessionsPreventsLogin(false)
.expiredUrl("/login")
.sessionRegistry(sessionRegistry()); <- 추가
이렇게 명시만 해두면 빨갛게 물들면서 없다고 에러를 뱉을 텐데 config 클래스에
sessionRegistry를 하나 선언해 준다.
@Bean
public SessionRegistry sessionRegistry() {
    return new SessionRegistryImpl();
}
완성된 SecurityConfig 클래스 코드는 아래와 같다.
package com.userexample.demo.config;

import org.springframework.beans.factory.annotation.Autowired;
import org.springframework.context.annotation.Bean;
import org.springframework.context.annotation.Configuration;
import org.springframework.security.config.annotation.web.builders.HttpSecurity;
import org.springframework.security.core.session.SessionRegistry;
import org.springframework.security.core.session.SessionRegistryImpl;
import org.springframework.security.crypto.password.PasswordEncoder;
import org.springframework.security.web.SecurityFilterChain;

import javax.servlet.DispatcherType;

import static org.springframework.security.config.Customizer.withDefaults;

@Configuration
public class SecurityConfig{

    @Bean
    public PasswordEncoder passwordEncoder(){
        return new SimplePasswordEncoder();
    }

    @Bean
    public SecurityFilterChain filterChain(HttpSecurity http) throws Exception {
        http.csrf().disable()
            .cors().disable()
            .authorizeHttpRequests(request -> request
                    .dispatcherTypeMatchers(DispatcherType.FORWARD).permitAll()
                    .antMatchers("/checkUser").permitAll()
                    .anyRequest().authenticated()
            )
            .formLogin(login -> login
                    .loginPage("/login")
                    .loginProcessingUrl("/login_process")
                    .defaultSuccessUrl("/", true)
                    .permitAll()
            )
            .logout(withDefaults())
                .sessionManagement()
                .sessionFixation().changeSessionId()
                .maximumSessions(1)
                .maxSessionsPreventsLogin(false)
                .expiredUrl("/login")
                .sessionRegistry(sessionRegistry());

        return http.build();
    }

    @Bean
    public SessionRegistry sessionRegistry() {
        return new SessionRegistryImpl();
    }
}
이제 /checkUser를 구현할 차례다.
loginController에 함수를 하나 만들어준다.
@Autowired
SessionRegistry sessionRegistry; // bean에 등록된 세션저장소

@Autowired
ServiceUserDetailService serviceUserDetailService; // id로 로그인정보 조회위해

@GetMapping(value ="/checkUser")
@ResponseBody
public boolean checkUser(@RequestParam(name = "username") String userid) {
    //TODO session 뒤지는 함수 구현필요
    UserDetails userDetails = serviceUserDetailService.loadUserByUsername(userid);
    List<SessionInformation> allSessions
			= sessionRegistry.getAllSessions(userDetails,false);
		//로그인된 객체가 존재하면 allSessions List의 길이가 1을 넘을 것이다.
    if(allSessions.size() > 0)
        return true; // user 존재
    else
        return false; // user 존재 x
}
login 페이지의 script 부분을 다시 보자.
<script type="text/javascript">
    $(document).ready(function() { // html 문서가 다 로딩 되면
        $("#login").click(function() { // 로그인 버튼이 눌렸을때
            let username = $("#username").val(); // 사용자 id를 가져와서

            $.ajax({ // 서버로 보내서 기존 세션이 존재하는지 (중복인지) 검사해준다.
                url : "/checkUser",
                method : "GET",
                dataType : "json",
                data : {
                    username : username,
                },
                success : function(result){
                    if(result == false) {
                        $('#login-form').submit();
                    }else{
                        let check = confirm(
                            "Existing login users will be logged out. Do you want to continue?"
                        );
                        if(check) {
                            $('#login-form').submit();
                        }
                    }
                }
            })
        })
    })
</script>
success 부분은 /checkUser의 중복 검사 결과를 넘겨받는다.
결과(result)가
- false (중복 로그인이 없을 경우, 세션이 존재하지 않을 경우) 일 때 form 객체를 이전과 동일 하게 submit 으로 넘겨준다.
- true (중복 로그인이 존재할 경우, 세션이 있을 경우) 일때 confirm을 만들어 사용자에게 한번 확인을 받는다.
동작하는지 확인해 보자.
먼저 사파리에서 로그인 → 크롬에서 로그인할 경우, 크롬에 confirm alert이 나타나야 한다.
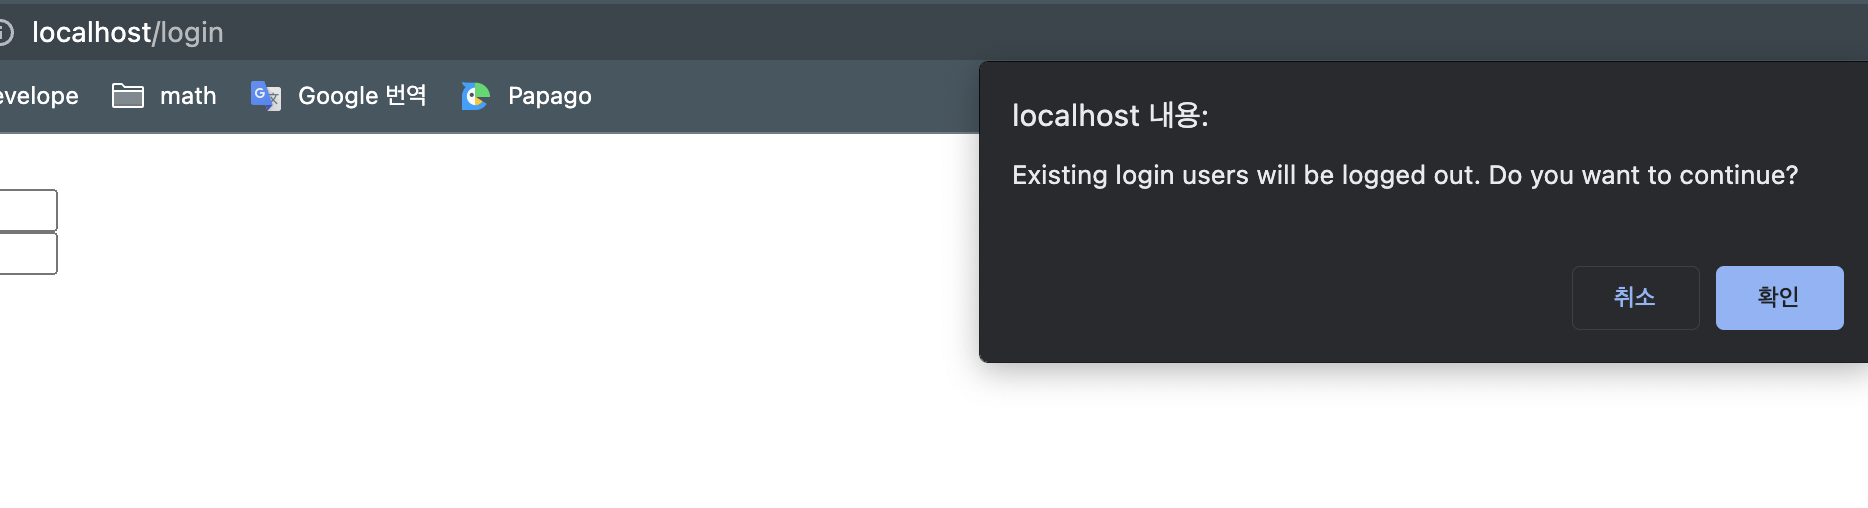
나타나는 걸 확인할 수 있다.
참고
- https://programmer93.tistory.com/68
Spring Security UserDetails, UserDetailsService 란? - 삽질중인 개발자
Spring Security - UserDetails , UserDetailsService UserDetails 란? Spring Security에서 사용자의 정보를 담는 인터페이스이다. Spring Security에서 사용자의 정보를 불러오기 위해서 구현해야 하는 인터페이스로 기본
programmer93.tistory.com
- http://dveamer.github.io/backend/PreventDuplicatedLogin.html
Dveamer
현실에서 살고 있지만 이상에 대한 꿈을 버리지 못한 몽상가의 홈페이지 입니다. 개인적인 기록을 주 목적으로 하며 일상과 프로그래밍 관련 글을 포스팅합니다.
dveamer.github.io
'text > Java' 카테고리의 다른 글
| springboot 대댓글 게시판 구현하기 (수정 기능x, 삭제 기능x) (0) | 2023.08.07 |
|---|---|
| FK-FK table springboot @ID 매핑 (0) | 2023.06.21 |
| spring boot 로그인 (+spring security, mysql) (1) | 2023.05.28 |
| excel hyper link 삽입시 주의 사항 (# -> %23 이 될때) (1) | 2023.04.02 |
| 나는 인내심이 적고 적어.. (progress bar) (0) | 2023.03.15 |


댓글